With the most critical information filled in, you can finish setting up your Employees. Their information will be imported from your POS as part of the initialization process.
Employee settings can be customized as needed, such as their address, Pay Group, etc. For more details, please see the Heartland Time support documentation.
In this step, you will perform the following actions for the Employees:
- Sync Employees between the POS and Heartland Time
- Apply the Employee Template.
- Set their Pay Code.
- Provide a registration link so they can access their Heartland Time user account from a web browser or mobile device.
Sync Employees from POS
Employee information is synced automatically at set intervals between the POS and Heartland Time. The first time you set up your Heartland Time account, perform a manual sync between the POS and Heartland Time to verify that you are working with the most up to date information.
These steps can be repeated if a new employee is added to the POS, and you want to complete the Heartland Time setup without waiting for the nightly sync.
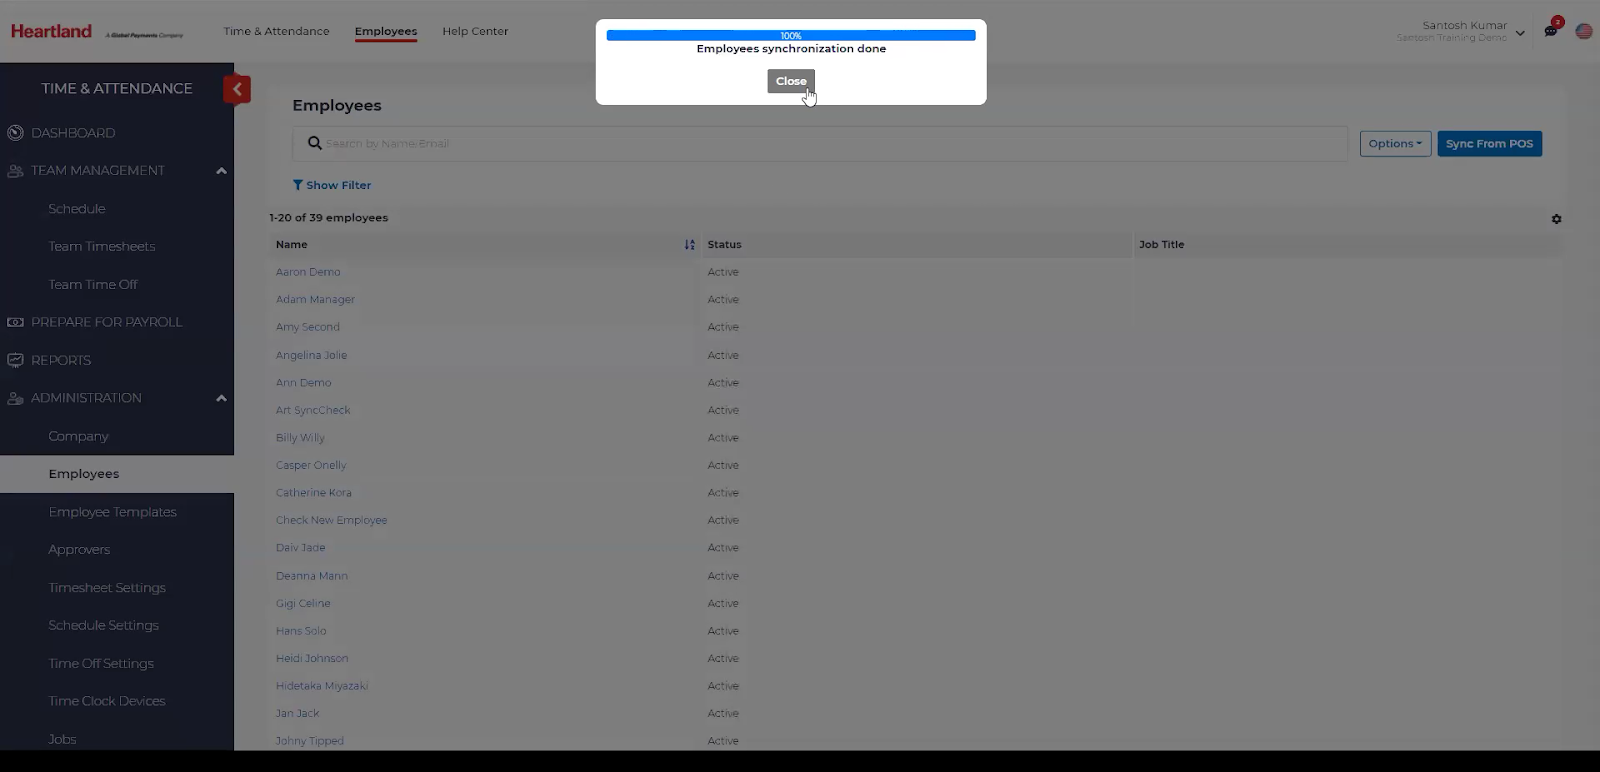
To sync your Employees between Heartland Time and the POS:
- Select Administration > Employees.
- Click Sync from POS.
- Wait for the synchronization process to complete. This should only take a few minutes depending on how many Employees have been added to the POS since the last sync.
- When the notification displays Employees synchronization done, click Close.
Completing Employee Setup
To finishing setting up an Employee in Heartland Time:
- Click Administration > Employees.
- Select the Employee to update.
- Click Compensation Info.
- Set the Pay Group to the one appropriate to the Employee.
- Select the Start Date when these settings will take effect.
- Click Continue.
- Select Time & Attendance from the menu below the employee’s name.
- Click Assign a template.
- From the Template drop down, select the template to be used.
- Set the Effective Date.
- Click Save when complete.
- Select Profile from the menu under the Employee’s name.
- Select Account Information. Complete the mandatory fields - these must be filled before Employees can login through the POS.
- If the employee has an email address, enter their email address in Account Registration and click Send Registration Email.
- For any employees that do not have an email address, they can use the Activation Link listed on the page. Select the Copy icon to copy this information so it can be distributed to your employees. This will allow them to log in through the provided web page link. Be sure to include the Company ID.
- Repeat these steps for each Employee.
